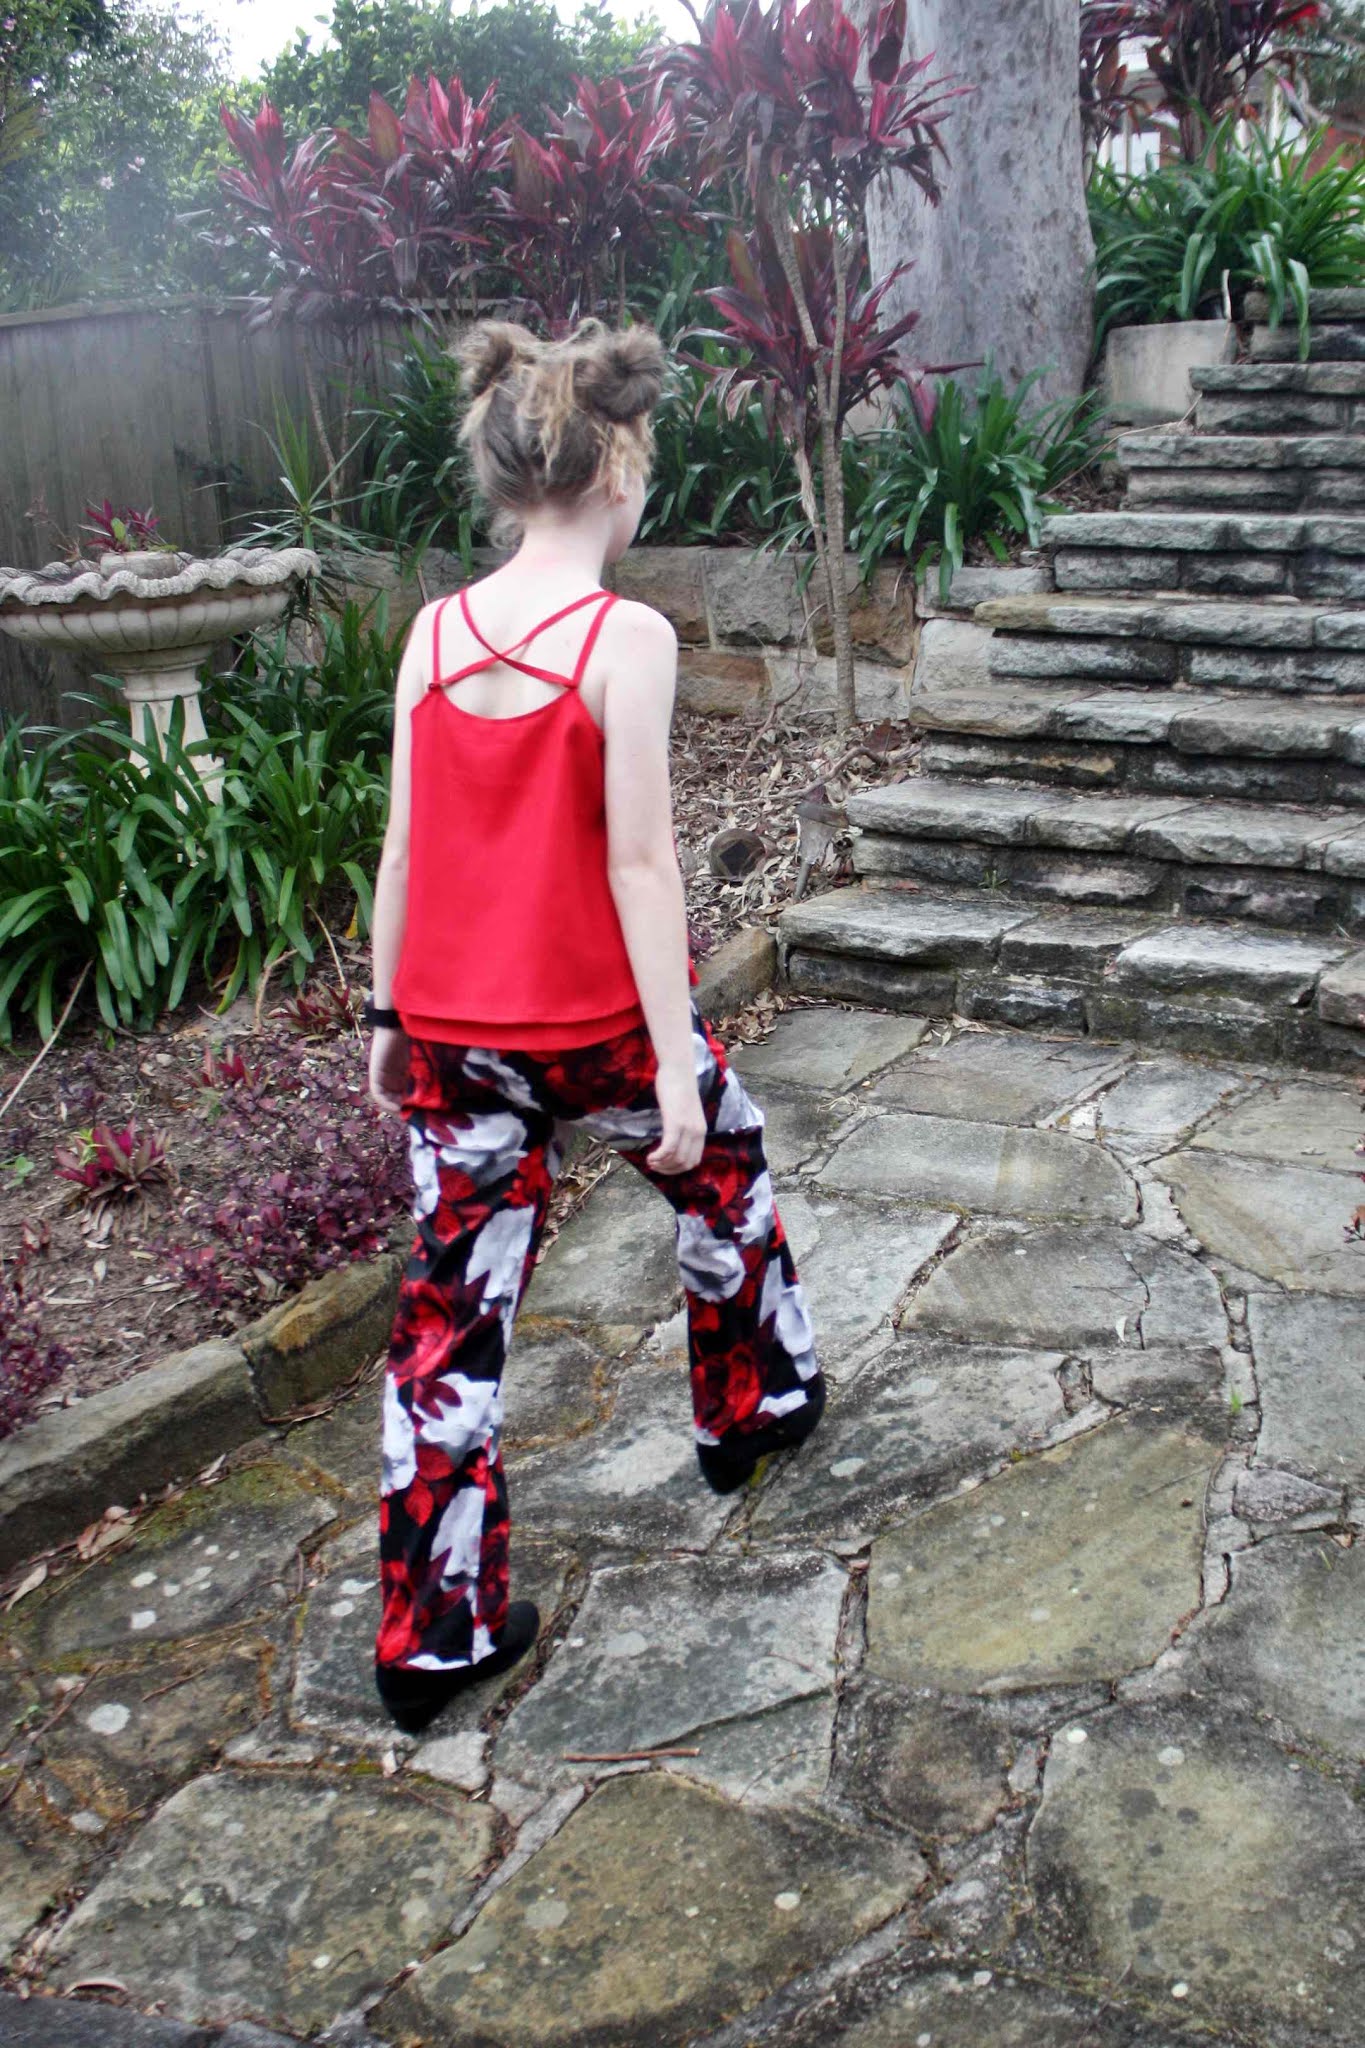
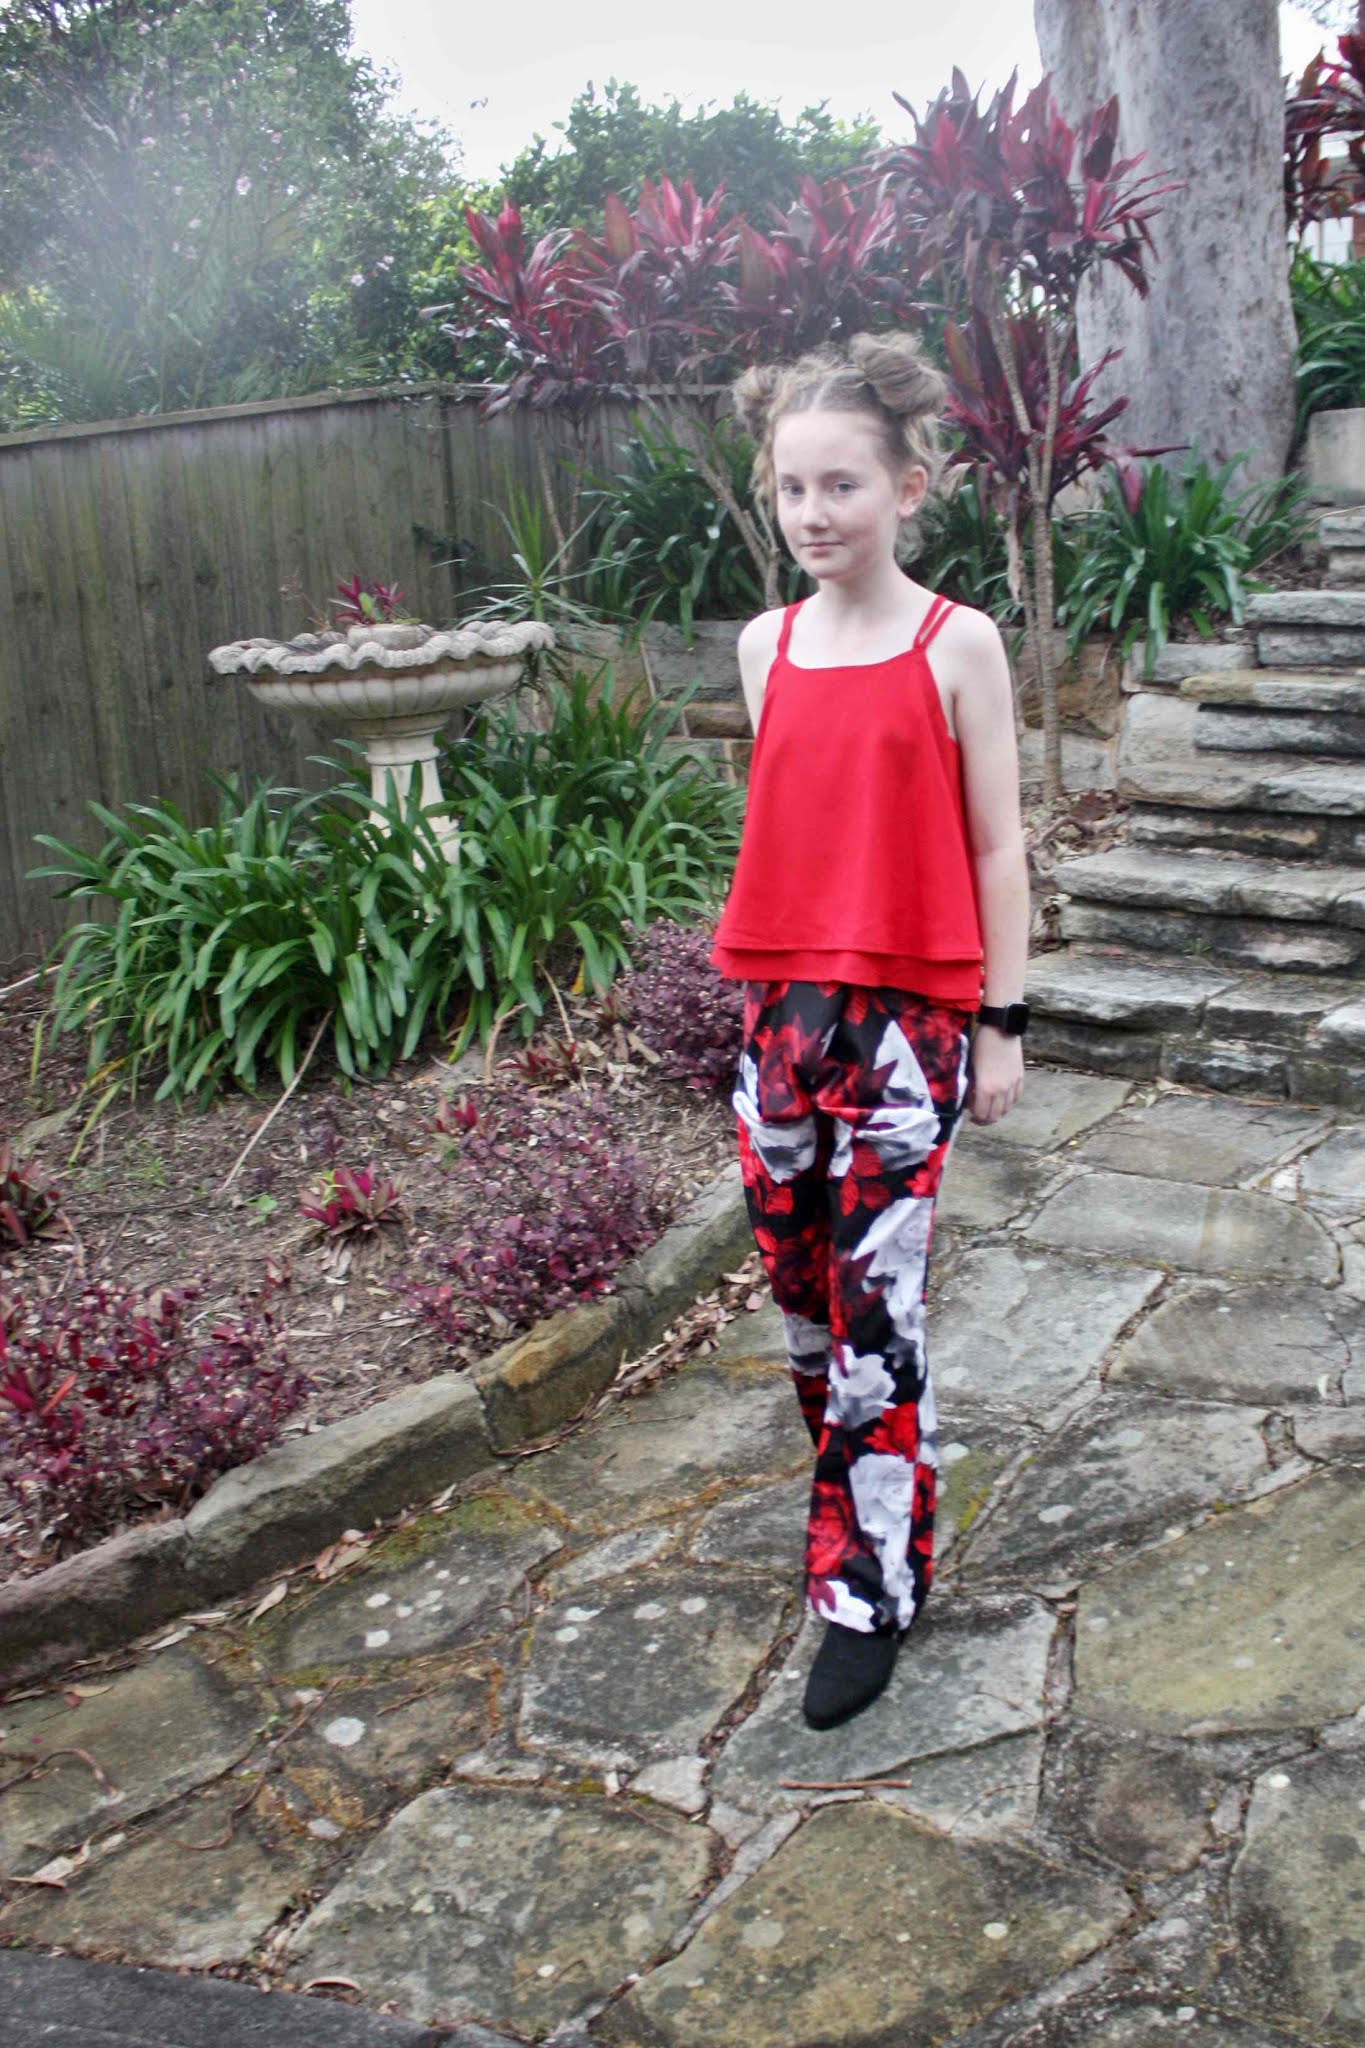
Monday, May 13, 2013

And the winner is......

Comment 311
Melissa Corry
who said
"I am following :)"
I guess it pays to be a follower lol
I did check out her other comment which said her favourite blog was "Cluck, Cluck, Sew"
I like that one as well :)
I also want to tell you the 2 patterns Melissa picked as they are gorgeous
From "Kate Conklin Designs" we have

and from "Chasing Cottons" we have
Great picks :)

I have to tell you I was amazed at how many entries my little giveaway got and very excited to see some new followers.
I have decided that I will put together a list of all the blogs that got a mention, but you will have to be patient as I will have to go through 694 comments!!!!!!

Stephanie xoxo

Tuesday, May 7, 2013

Bow Ties are Cool

Dr Who is of course the ultimate source for all things stylish in men's fashion right now
so


today I'm going to show you how I drafted my bow tie for LKJ.


Lets start by gathering our supplies
you will need
4 pieces of paper (or 2 really long pieces)
sticky tape
measuring tape
ruler
pencil
scissors for cutting paper

Step 1
You need to decide what size bow you would like. LKJ's is a fairly standard size bow.
2 3/4" high
so mark this measurement along the short edge of 1 piece of paper


Step 2.
Now decide how wide you want the bow. LJK's is
2 1/4"
So rule a line half way between your first measurent out 2 1/4"


Step3.
Fold your paper along that last line


Step4.
measure down 1" and mark
Join the 2 marks


To give it a softer feel you can make this line curvy like I did with LKJ's


Step 6.
cut along the line


Step 7.
This is where I felt I really got clever lol
Unfold your paper then fold the first part up and trace it
(sounds weird here is a picture)


Step 8.
Fold it in half again and cut along that line
now it looks like this


Step 9.
Repeat step 7


Step 10.
Now lay it flat and fold it in half again
we are now going to make the bit that goes around the neck.
I made my neck piece 1" wide so its easy to tie and sits under the collar nicely.
From the fold measure down 1/2"


Step 11.
Make the 2 end point meet up
as in picture bellow


Step 12
Measure out knot allowance 2 1/2"


Step 13
Measure out 1/2 your neck measurement
(You will now need to stick a second piece of paper to the first for length)
LKJ's measurement was 9 1/2"
so we measure out 4 3/4"


Step 14 
cut it out, open it up and 
tada
1 bow-tie pattern


At this point it doesn't have seam allowances so add those however works for you
here is how I did it


Now don't add seam allowances to the end as this is where you fold your material


Ok that's it, You're done!


Couldn't have put it better myself

Stephanie xoxo


Linked up here :)

Monday, May 6, 2013

GIVEAWAY DAY!!!!

Ok ever since I started blogging I have wanted to host a giveaway on 
Sew, Mama, Sew's giveaway day, and this time I finally am. YAY!!!!


What's up for grabs?
$25 gift voucher from
Hawthorne Threads Logo Image
$10 gift voucher from
1 Pattern from
Kate Conklin Designs
and 1 Pattern from
Chasing          Cottons

How's that for my first giveaway day :)

So what do you have to do to win?
Leave me 1 comment telling me your favourite blog 
(other than mine of course)
and if you are a follower or become a follower of my blog you can leave me a second comment.

This giveaway is open internationally and will end on May 10th 2013.
I will pick the winner randomly on May 11th.

Well wasn't that fun.
Want some more fun come back tomorrow for my tutorial on how to draft your own traditional bow-tie  :D


Stephanie xoxo
UPDATE THIS GIVEAWAY IS NOW CLOSED THANK YOU
AND THE WINNER IS click here

Tuesday, April 23, 2013

And so it was

Results are in for week 3 of "The Sew Off"
I didn't make the top 3 so I'm out :(
It really was a fantastic sewing experience.
Seriously I was amazed that I got through to the top 12 let alone coming 5th!
My sewing skills have definitely improved and I feel slightly more daring about what I can actually do :)
Here is a recap of the competition
Week 1 - Kids Clothing
I really love that velvet coat - it washes up really well too!
Week 2 - Home Decor
I am so glad I finally got to this project and I am slowly letting the kids use it again lol
Week 3 - For You
I really HATE modeling lol but I love my new clothes and bag

I had a great idea for the final week but it will have to wait a bit. I am doing
Kids Clothes Week
but I will only spend 1 hour a day instead of 8-10 hours lol

I will link it up with 
Sew Geeky
when it is finished ;)


I will leave you with this last picture of me because it will be awhile before you see anymore!

Stephanie xoxo


Monday, April 22, 2013

All in a Flap

I am finding it hard to believe that here I am in week 3 of


Vote here

The theme this week was
"Something for yourself"
I totally did that last week with the couch, all the kids are too scared to sit on it because it's mum's couch lol
The boys even freaked out when I asked them to jump on it for my last post and got off as soon as I said we were finished :)
Anyway if last week had me out of my comfort zone this week was like going from the frying pan into the fire!
I am not a fan of sewing for myself. The first time I did it looked like this
Yep making that a small picture lol
I have also made myself a long red velvet skirt that my kids call the curtain skirt (you wont be getting a picture of that lol)
I learnt this week that I'm not a great model either
These are the ones I could just handle you seeing - trust me there was worse!!!!
I much prefer to be on the other side of the camera - a big thank you to Kate Walter for putting up with me saying "I don't know what to do" every 5 seconds
Now that all of that is out of the way lets get on with talking about what I actually made this week.

All in a Flap


A moderntwist on a 1920's look.
This outfit includes

1.  grey pin stripe pants “designer fabric”(I’m not sure what thatmeans, but its definitely got spandex in it) The spandex makes this so comfortable, I defintely feel like I can bend over without splitting them lol. It was my first go at drafting pants for myself. They have an elasticated top so look dressy enough but are comfy like PJs :)
2.  bold printheavy satin drop waisted top with bronze hand sequined neck detailing. I love sequins it must be the performer in me ;)The top was a fairly simple idea almost like this one from Simlpe Simon and Co. I added some sleeve shaping and it has short splits at the top and a some shaping in the neck hole. It was the top that was inspired by the 1920's kinda based on "The One Hour Dress" It just has a casing for 1.5 inch elastic just under the hip mark so it can be hitched up.
3.  refashioned black cardigan (was a turtle neck sweater). I have had this sweater/jumper for about 8 years and I have loved it. This is its second refashion. I ripped the turtle neck off after about a year, they don't really suit me. It's really stretchy and quite thin so great for a spring/autmn outfit.
4.  drill and satin bag with 3 internal pockets for my phone, purseand glasses. I LOVE this bag. I was inspired by this one
You can buy this one for$320 
Mine cost me about $40

There you have it, my modern take on a 1920's outfit
Now if you will excuse I might just watch some Downton Abbey in my new outfit on my new couch :)
after I vote of course, I would be thrilled if you did too, pretty please :)


Vote here
Stephanie xoxo

Tuesday, April 16, 2013

A Little Crazy

Partying hard over here :)

I am just over the top excited to announce I made it through to week 3 of
Now get off my couch!

Saturday, April 13, 2013

On My Own Wave Length

VOTE FOR ME HERE


This weeks theme is Home Decor 
I have been planning on recovering my lounge for ages.
 I can't believe I let people sit on that couch :O


I would say Bec from Chasing Cottons inspired me with this post back in 2011
Then about 6 months ago I came across this post at HoneyBearLane
These were both great post but I found it easier just to do my own thing :)
I started by unsewing the seat covers.
I traced around the all the parts to make my patterns and then added seam allowances.
I then had my first go at making piping (yep you heard right my first go)
I heve heard that you can get a piping foot for your sewing machine but I didn't have one so I used my zipper foot. It wasn't as hard as I thought it would be and I think it helps it look more finished.
The seats are covered in a cream and gold jacquard material and I have scotch guarded it.
(I have threatened the children with death if I catch them eating or drinking on it lol)

Cadbury Top Deck lol

Because my children are most likely going to ignore me about the food I decided to not use cream for the base. I chose a medium brown suede.
My goodness suede is as hard to work with as velvet (except there aren't bits everywhere)
You need to be really focused so it doesn't move or does move when you need it to.

As I mentioned above when it was finished it looked a little like Top Deck chocolate, so I added some scatter cushions.
I only used materials I had in my stash!
I wanted to try something different.
Chevron is everywhere right now and I love it. A good friend of mine (got me into sewing) Kate is a quilt designer and blogger and recently posted a tutorial for her Frequency Quit, she calls it a wonky zigzag/chevron design and it looked fun and relatively simple.
Simple is good right?
Well each cushion took me 6 hours to make, umm so maybe not so simple

I was however really happy with my work!
I haven't done any quilting for quite some time and certainly enjoyed it, but I'm not in a hurry to do anymore soon.
(actually my fingers really hurt from hand sewing the binding to the back)
I'm glad I only did 2, the other 2 took 10 minutes each max!

I have learnt so much about sewing from this project!
and a lot about myself too :)
and while I am happy with the result I'm not sure I'm in a hurry to do it again, unfortunately for me I haven't really got a choice
it was a matching pair.
This ones in even worse shape lol
Ok now its time to go vote!


Stephanie xoxo