Monday, February 21, 2011

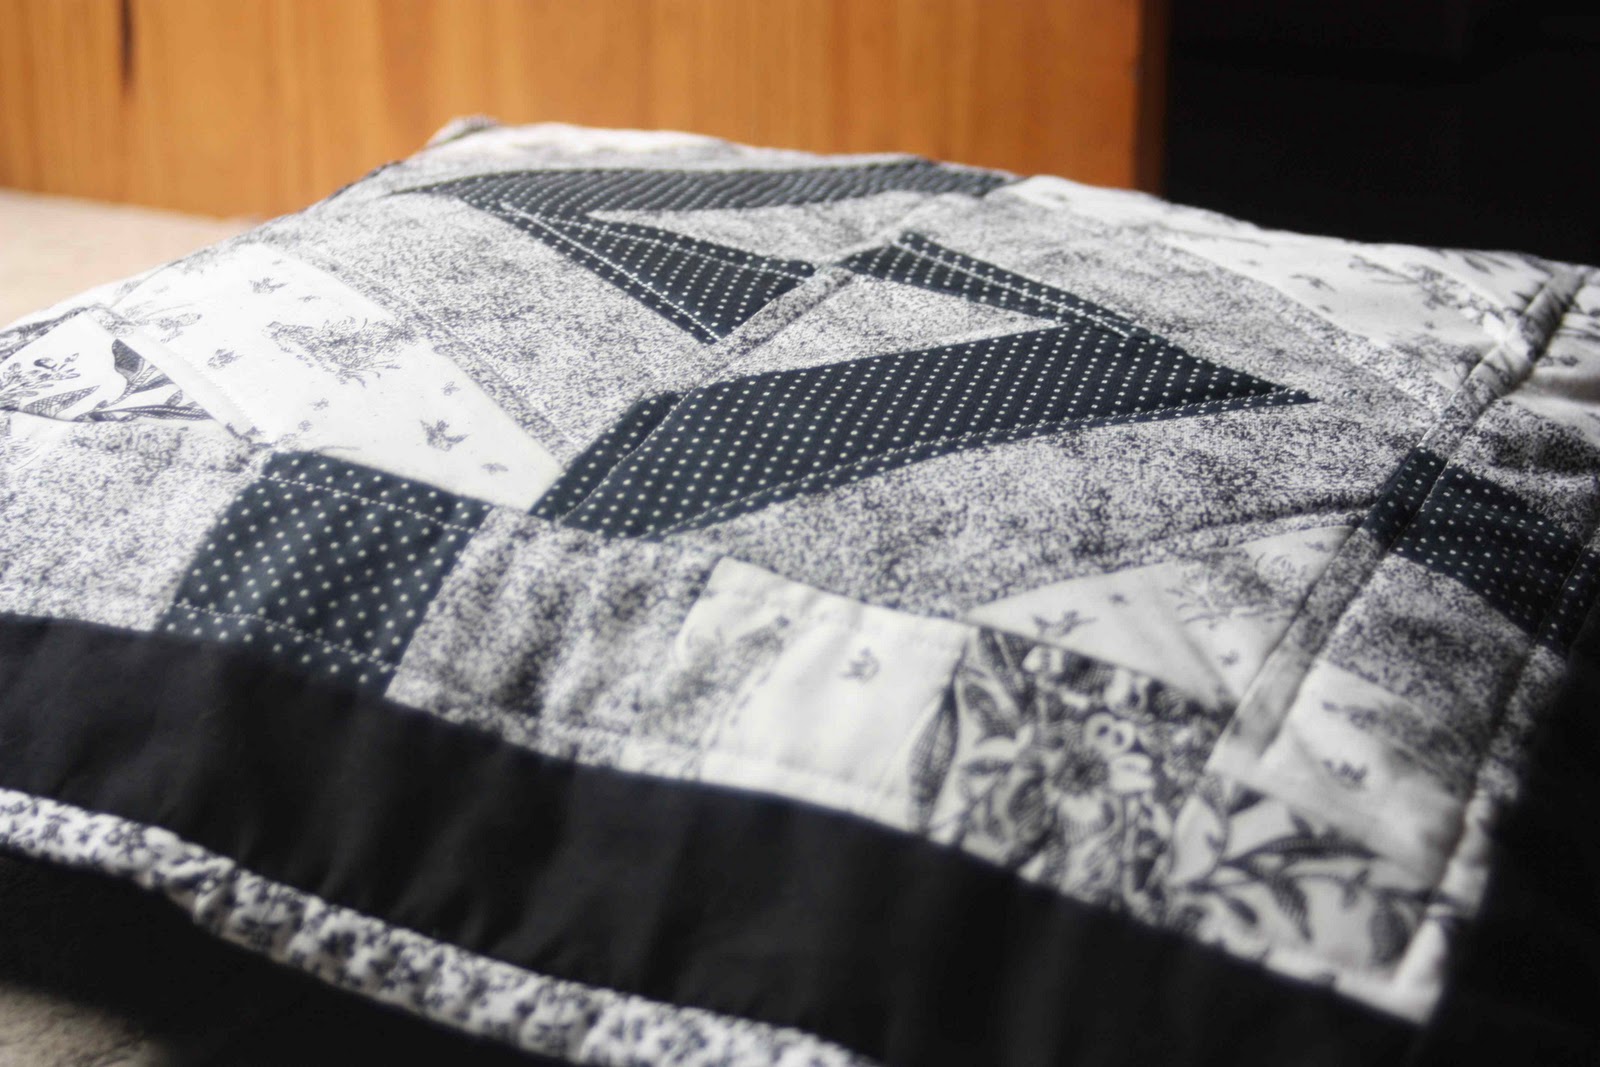
Pillow/Cushion

Whatever you want to call it, I love it.


Put it together Friday.


It is for one of Jack's teachers as she is finishing up with her studies and not staying at the school :(


I made it using some of a jelly roll I bought at Spotlight
(they just love sending me those spend $100 only pay $60 vouchers)
(I love spending them lol)


Just a simple back.
I used drill and I must say I'm really happy with the feel of it.
Feels like it could withstand almost anything.

Thursday, February 17, 2011

Read the instructions and FOLLOW THEM!!!!!

Ok so I'm trying out a new pattern that hasn't been released yet.
Very excited!!!!!!!
I was trying really hard to read the instructions and follow them but I'm not really good at that.
I have a tendency to read a bit get the idea and then go do what I think (stupid I know)
Anyway was working really hard at following the instructions but thought a step was missing (cause you know I write patterns all the time, I would know better than the author NOT!!!!!)
Anyway I finished the last step of the block

look nice hey

But I had to add another step because the pattern says
"If you have cut accurately and kept to 1/4 " seems you won't have to trim"
Well I didn't, look how much I had to trim :(

At least I had only cut 2.
Lesson "Read the instructions and FOLLOW THEM"

Monday, February 14, 2011

Valentine's Day

OK I was looking around blog land on Saturday when I found this tutorial from "cloud9 fabrics".
Had to give it a go, sooo easy
How do you think I did?


I did make a mistake when cutting the fabric so my pocket is a little smaller ( I still like it)
I also had to make the heart template bigger, but it still took less than an hour to put together!!!!

Just for fun here it is photoshopped lol

Happy Valentine's day <3

Tuesday, February 8, 2011

Well I think it's COOL

Put this outfit together for my beautiful daughter.

Costing
Shirt $8
Shorts $10
Headband $4
Flower Brooch $6
Total Cost $28
Very Happy :)
Of course when I say i put it together i mean Designed and sewed lol

Monday, February 7, 2011

Ruby June

This is probably going to sound a little wacky but here goes
About 9 months ago I fell pregnant with child number 6.
I cried for a whole weekend thinking how could I possibly cope with another child.
Being the determined person I am though and believing that all things have purpose I started getting excited about a new little Carnovale.
However at the 12 week ultrasound they told me that the baby had not developed.
More crying and a feeling of being really alone but that determined nature of mine got me through again.
Life goes on and so it did until about a week ago when I started thinking about what it might have been like to be holding my child.
Ok so boohoo for me, lots of women suffer through this without all the carry on.
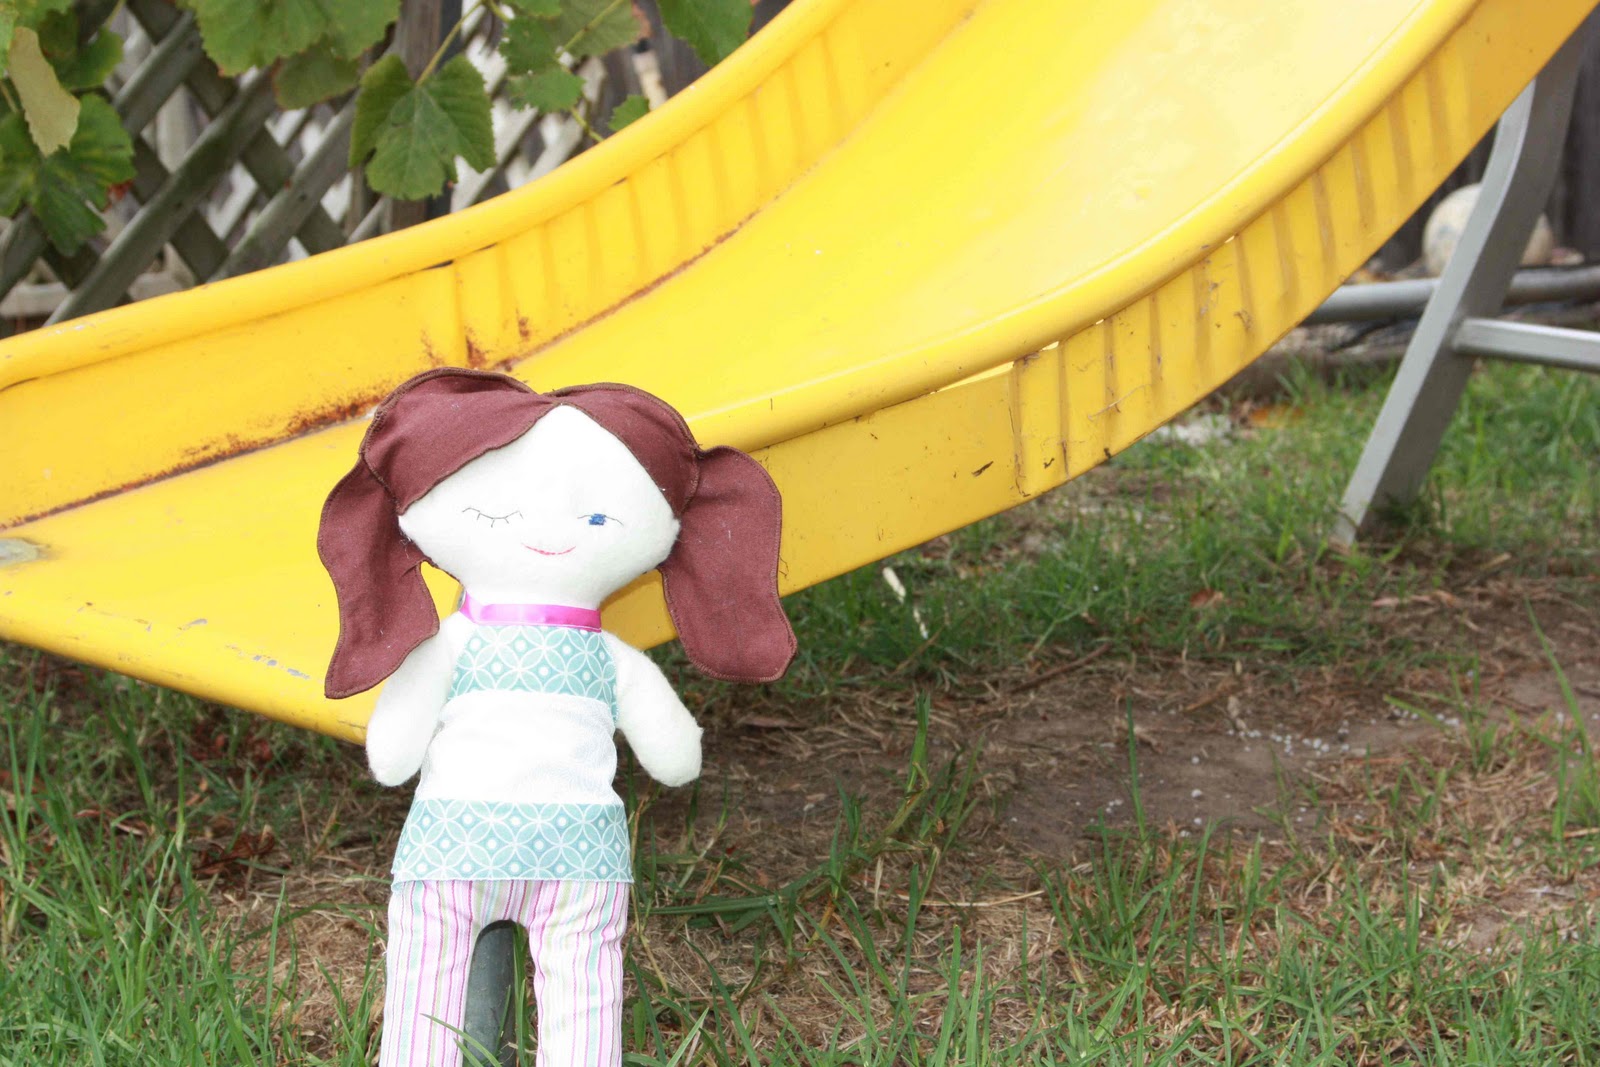
Here is how I have decided to move forward I'm going to create my own little Carnovale and here she is

This is Ruby June

We have been outside to have a little play
she loves strawberries

climbing in the grapevine

and of course the slide.

Before you all start to think "Oh my she's lost her mind"
Relax it's just a doll, but it made me feel better so why not?


Tuesday, January 25, 2011

For the love of SAND

Quite awhile back I won a giveaway hosted by Bec from Chasing Cottons
all for me!!!

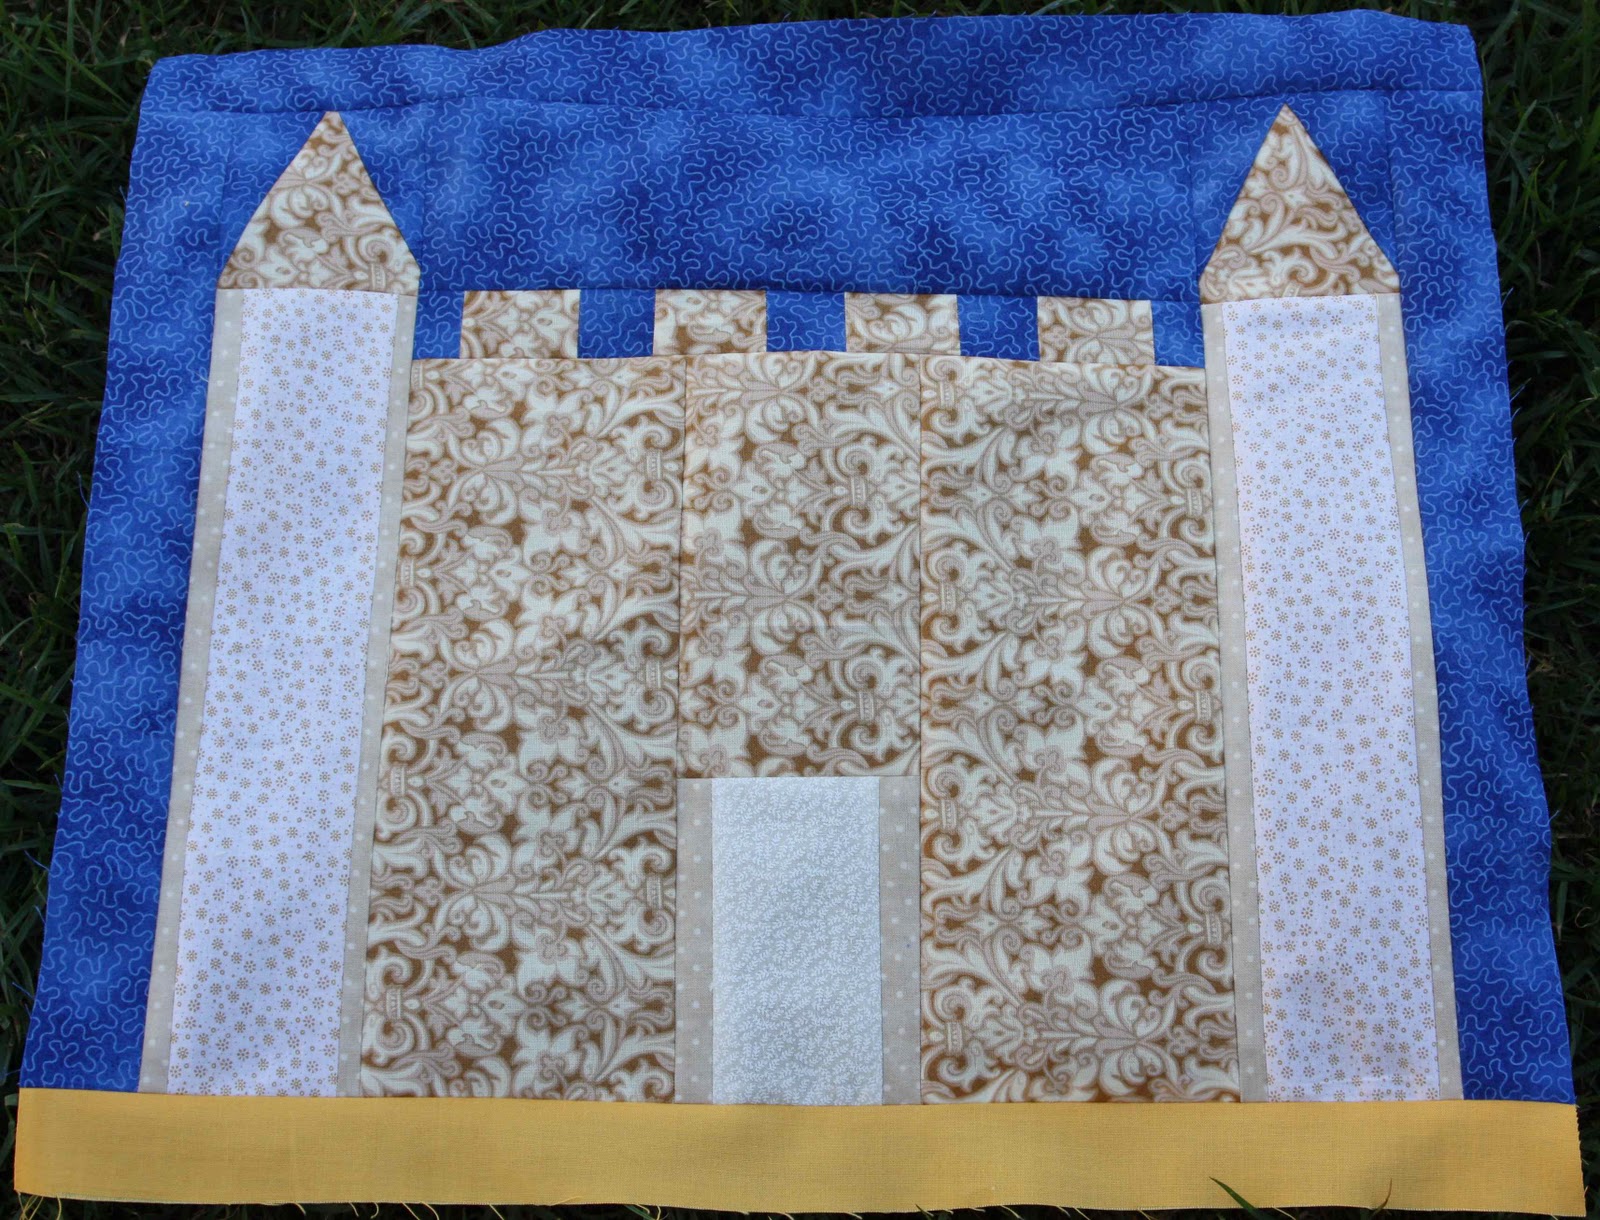
I really love the pattern Sand Castles. Bec used the "Far Far Away 2"  for her sand castles which is very clever and cute 

but I wanted sand for my castles.
So today I gave it a go
Just one castle (at the moment)

I didn't have enough sand coloured material until I went through the stash Kate gave me.
I had to modify the pattern slightly as the scraps weren't quite wide enough.

For the door

or the towers

The points on my towers aren't perfect but I love my sand castle.

Thanks Bec
Just before I go as usual David decided if mummy was taking photos there should be one of him

Have a good Australia Day!!!!


Friday, January 21, 2011

The only way to get through it!!!!!!!

I really do love my children but school holidays are killing me!!!!
Seriously schools are an awesome invention
So to regain some sanity I decided I better do some creating.
I asked the pre-school (at least they are back already) what they could use in the big kids classroom.
They asked for doll blankets.


The big kids room is called the Rain forest Room
So I tried to stick to greens and browns with just a little colour for fun! 


Just a fairly simple back


Nice for the dolls to have a matching pillow


Here is my latest doll giving it a test drive


Can't just stop at one can I?


Still sticking to the green brown theme but this time with flannel
(from a huge pile Kate Conklin gave me thanx Kate) 


Another matching pillow


Can't say I made this doll but I am sure she is enjoying the rest lol

I took them into the pre-school they loved them!!
It's so nice to give my craft away to people who really appreciate it!


Monday, January 17, 2011

Long Time No See

Wow is this time of the year busy!!!!!
I know I have been absent for quite awhile now but boy have I been busy.
I have been sewing plenty and I'm sure I have heaps to blog about :)
I thought I would start the year with some sharing :)
My friend Kate got a sewing machine for Christmas and asked me to help her make a quilt.
It's so exciting to pass this bug to someone else!!!!!
We picked a fairly simple design and went shopping for fabric came home and made the top all in one day (WOW)
Here are some pics
 Now how does this go again?

Some very careful sewing

 Don't recommend photos in high wind areas but Kate seems to be having fun lol

Here it is one cot quilt top

Didn't she do a great job for her first go?

Will post again soon promise, been working on my own doll pattern :)

Friday, December 17, 2010

Remember This

I did a post sometime ago (family tree) about a cushion for my mother in law.
Well I finally finished it.
Each branch and each leaf represents a member of the family.

Check out our branch
very heavy lol

My Brother in Law was killed in a road accident about 3 years ago so his branch has a little blue bird on it.

I'm giving it to her for Christmas, hope she likes it :D

Monday, December 13, 2010

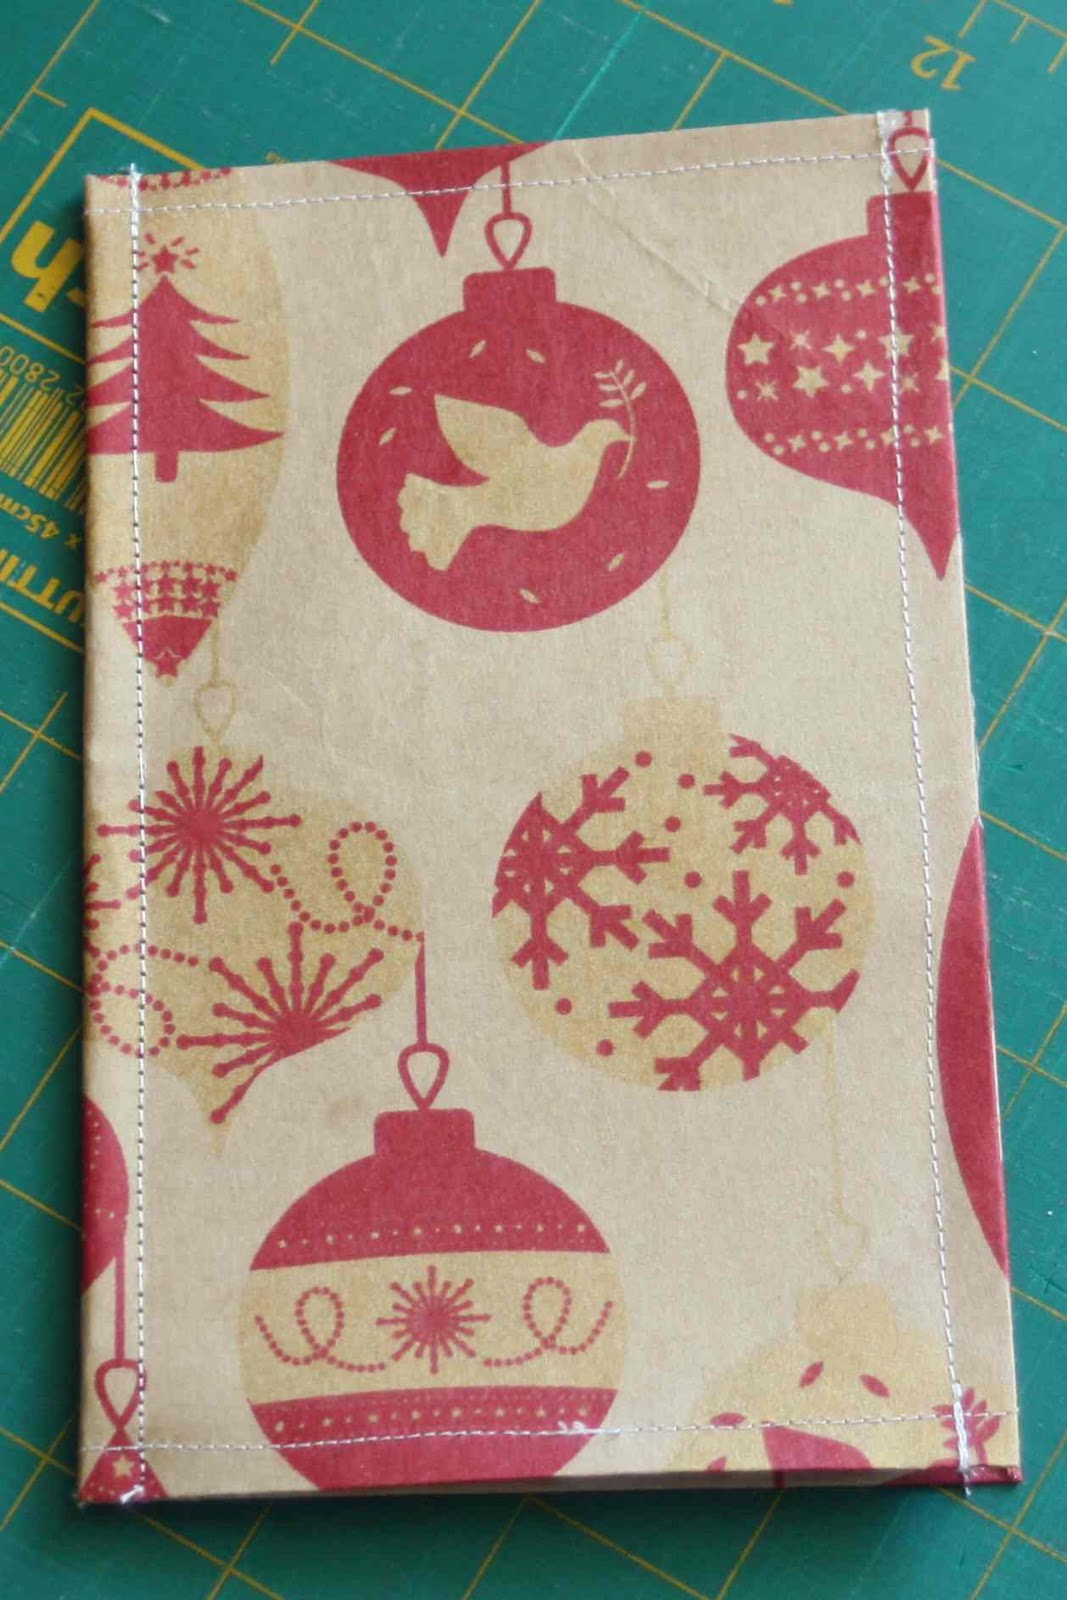
Note Book Tutorial


Here goes my first sewing tutorial :D

Things you will need
Wrapping paper 1 sheet 24cm x 19cm
Card stock 1 piece 22cm x 17cm
Copy paper 10 pieces 21cm x 16cm
Thread
Sewing machine
Before we get started please note that all my seem allowances are the side of my machine foot.
Lets get going.


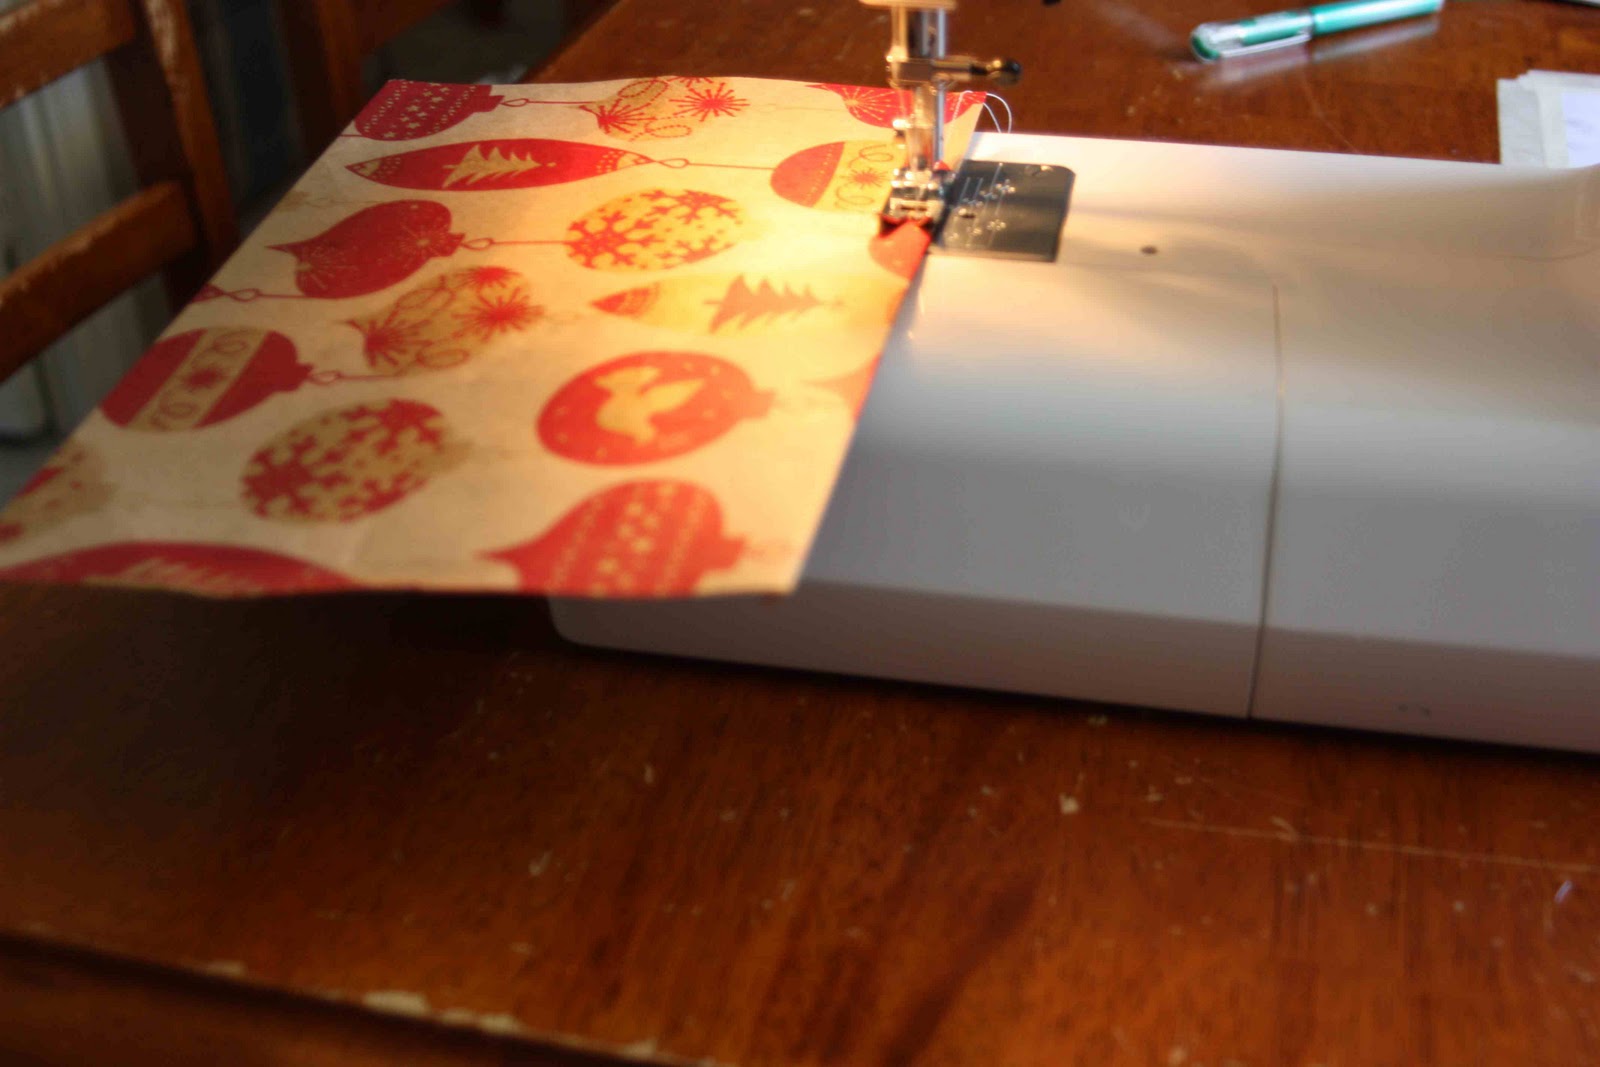
First place the wrapping paper picture side down.
Put the cardboard on top in the centre.
I just do this by sight it doesn't need to be perfect.
Fold up the top and the bottom like you are wrapping a present
Using a medium size straight stitch sew along the top and bottom.
Do this with the print facing up the stitches look nicer that side.
Do check before you start sewing that the cardboard is in the centre and not to one edge.
Now wrap the sides like a present.
I fold the corners then fold the sides.
Sew like the top and bottom, remember print side up :)
Now mark the centre of your card at the top and bottom.
This is your guide for sewing I do use a ruler for this :)
Put your sheets of copy paper on top.
The outside should line up with your stitches :)
Now just sew down the middle.
Fold in Half
Now you could stop there and it would be great but I do have one final step
I then sew down the spine to make it really flat.
I have made a note book with 20 sheets of paper but if you are going to use more than 10 sheets you can't sew along the spine as the machine doesn't like it :(

These are so fun to make and really quick.
I can make one in around 10 minutes how about you?


Wednesday, December 8, 2010

Something quick

I have been busy sewing gifts and so forth for Christmas ( will show you at some point) but I felt like a needed a quick project.
So I picked books.

(I tried to look for the page where I first got the idea but can't find it oops)
Anyways
These are so much fun to make.
It is much easier to sew paper than material lol

size b5 pink

size b5 green

size b5 black

smaller ones using scraps.

Seeya going to make some more :)

Answers to a couple of questions
1 Are there pages? Yes between 20 and 40 they are blank.
2. Are the covers material or paper? They are paper 
3. Do you make them from scratch or just cover them? I made them from scratch and they are so easy!!!!!

Maybe I will do a tutorial, I'll think about it.